Tutorials - Post Processing Recipes
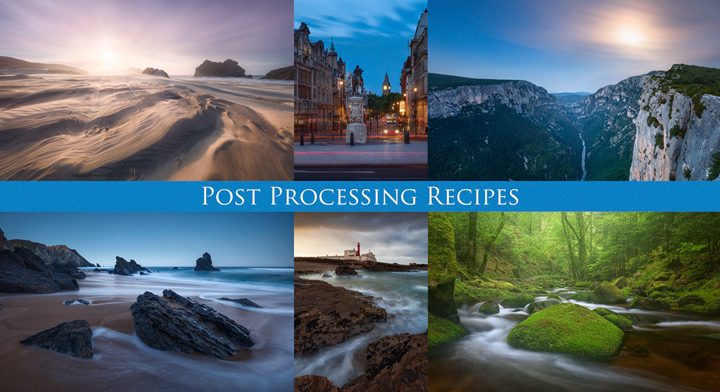
In this Photo Post Processing video tutorial I show a set of techniques, which you can use to bring your photos to the next level. The shown recipes include creative ways to improve the look of an image, be it through advanced photo transformations, enhancement of lights in the photo or special diffusion techniques.

Tutorial Content
The tutorial consists of seven videos. The first technique I show is Enhancing the Sun. It's about ways to improve the look of the blend and thus the appearance of the sun in the final photo. I'm also dealing with sunstars in this video.
The second video shows a way to get Streaking Clouds in a photo or to give the clouds some more movement, if the original exposure time was too short. On the same cityscape image used in the streaking clouds video I'll also show my technique to enhance City Lights.
In Diffusion Technique I show a mix of post processing and in the field technique, which I sometimes use to give photos a more dreamy look. The next two videos are about my Advanced Warping and Advanced Perspective adjustment techniques.
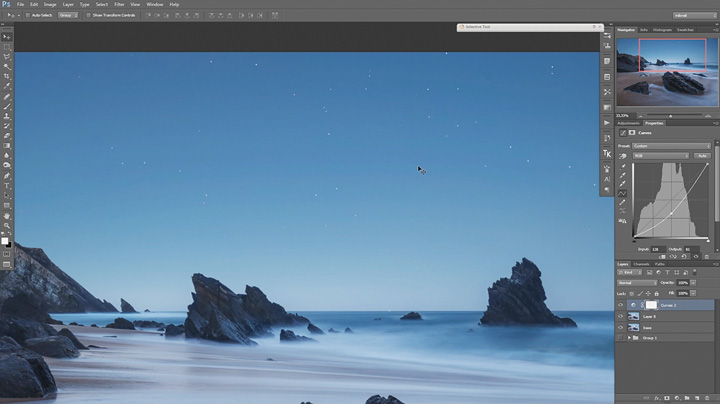
The tutorial is wrapped up by a very detailed video, in which I describe my techniques to create a Twilight with Stars scene.

Those techniques are just one part of my post processing and I will not use them all on any photo. But I currently apply at least one or two of the recipes to all of my photos, it just depends on the content of the photo, which recipes I'll use.
Prerequisites and Editing Software
This tutorial is for the advanced Photoshop user. I assume that you are already familiar with luminosity masks and their creation. If not, I recommend watching my free tutorials first. I'll also be using Tony Kuypers Actions Panel a couple of times for loading luminosity masks. But you can use any Luminosity Mask panel to follow along or create the masks yourself as I show in the free tutorials.
I use Adobe Lightroom 6 and Photoshop CS6 in the tutorial. Photoshop CS5 or later is sufficient to apply the techniques I use here. If you have Photoshop CC you'll also be fine.
Buying the Tutorial
The complete tutorial is around 90 minutes long and can be purchased for 15 USD. This is a link to an automatic delivery system I've set up to make the purchase more comfortable for you. After you pay, you'll get a temporary download link to the tutorial.
You can contact me through the contact sheet on my homepage, if anything goes wrong with payment or download. If you don't have Paypal, that's also no problem. The shop supports credit cards. If nothing works for you, just contact me and we'll find another way.
